Wagaturtle
Active member
Hey there! Thanks for checking out my log! To keep things brief - I'm Christina, a Midwestern college student who has owned and loved Tamagotchi ever since I was a little girl. Another thing I've loved since childhood is writing, and combine that with my love of the internet, and you get this mess. A Tamagotchi log type... thing.
This log will, at least for now, be solely about the newly-released Tamagotchi M!X. It's the only one I have running right now, but that may change in the future. Also, fair warning that my logs can get pretty lengthy, especially when I'm jotting down new information or game functionality. If you're into that, then great, but if not, please feel free to skim the text and enjoy the pictures!
The community has been pretty hyped about the M!X for a while now, so I thought I'd share my experiences with everyone! I don't read a lick of Japanese, so it's certainly been an adventure so far, haha.
Also, I'd like to note that I do have a general Tamagotchi Log on a separate blog, which is linked in my signature or here. I will be cross-posting all my M!X logs there, and may include extra photos and whatnot since there isn't a limit. If I ever get around to making proper lists and/or guides, they'll also be there.
Thanks for putting up with that little introduction! On with the log!
August 2nd, 2016 (Part 1)
Technically speaking, my blue Tamagotchi M!X (Spacey ver.) arrived on my doorstep at the tail-end of July. I nearly tripped over it coming back home from nannying, which was a pleasant surprise. However, due to my plans that weekend, I decided to wait to start it up. Based on what I had read on the forums, a lot of folks were saying that the baby stage was very needy (shock, amaze) and I wanted to make sure I had plenty of time to devote to my soon-to-be child.
As luck would have it, my Shutotchi on my iD L left me on August 2nd (I have no idea why - I'm a great parent), so I took out its batteries, safely stored and labeled them, and popped new ones into my M!X.
First things first, of course, so I started out with setting the date and time (I set it to the 3rd like a moron, but corrected it later).
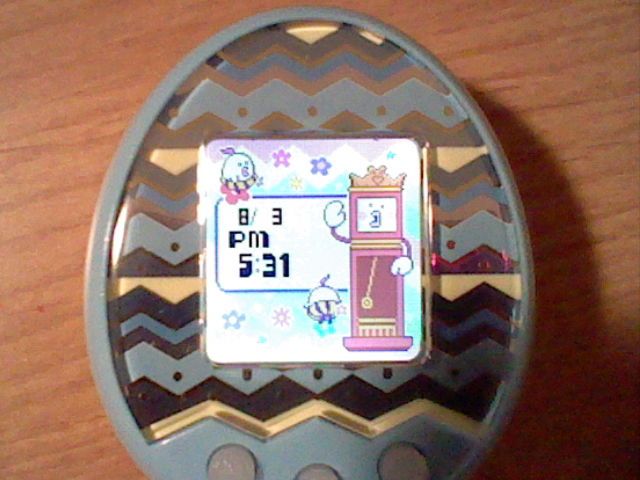
After setting the date and time, it had me enter my birthday (3/24!). For anyone who's curious, the date is set as month/day, and the time is automatically set to AM/PM. I know that, depending on your country, it can be different, and since the M!X is a Japanese exclusive (for now...), I wasn't sure at first.
After setting the date, time, and my birthday, I had to enter my name - or whatever I wanted my Tamagotchi to call me. Since my name is one character too long (a curse I face in almost any video game), I set mine as a nickname. The naming process was actually pretty complicated and took forever. Basically, you press the B button to select the empty space you want to fill with a character. Then, a list of hiragana (the Japanese alphabet) will appear beneath it. Press the A button to scroll through the characters - if you scroll to the end, the list of characters will change. If you keep doing this, you'll scroll through hiragana, katakana (a Japanese alphabet used for foreign words), punctuation, emojis, and eventually, the English alphabet. Press the B button to select the character you want to fill the slot with, and then repeat the process until you've completed whatever name you want.
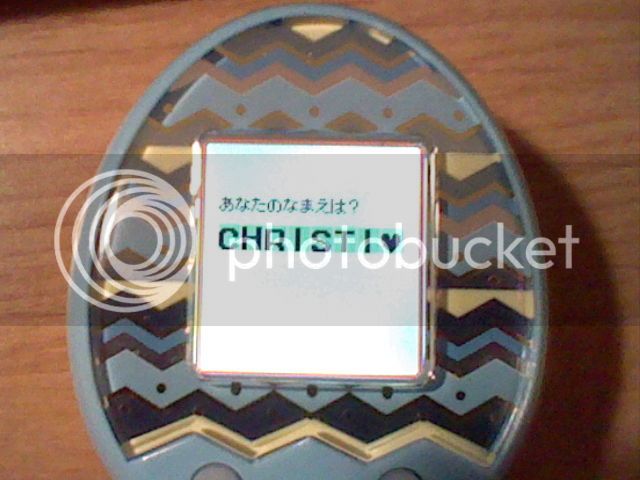
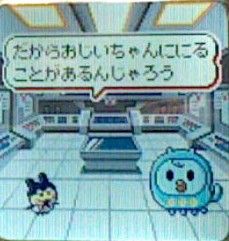
((The hiragana reads, "What is your name?"))
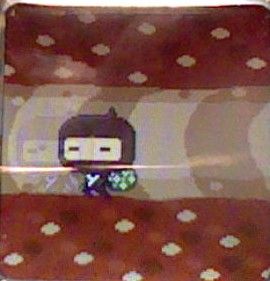
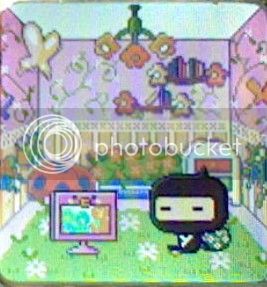
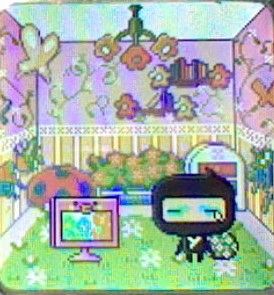
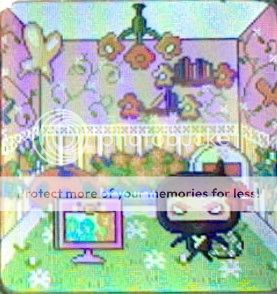
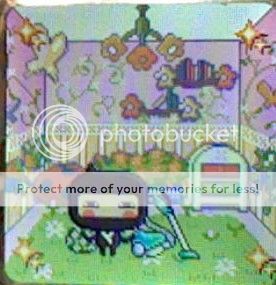
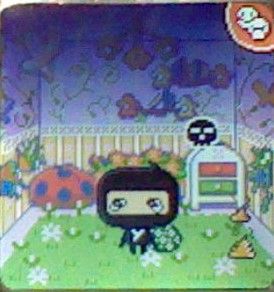
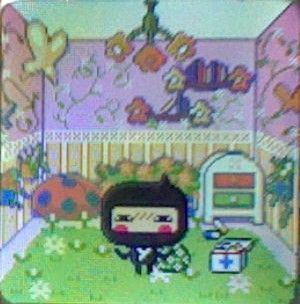
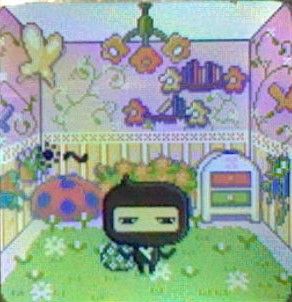
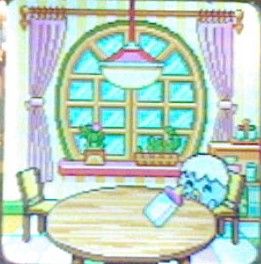
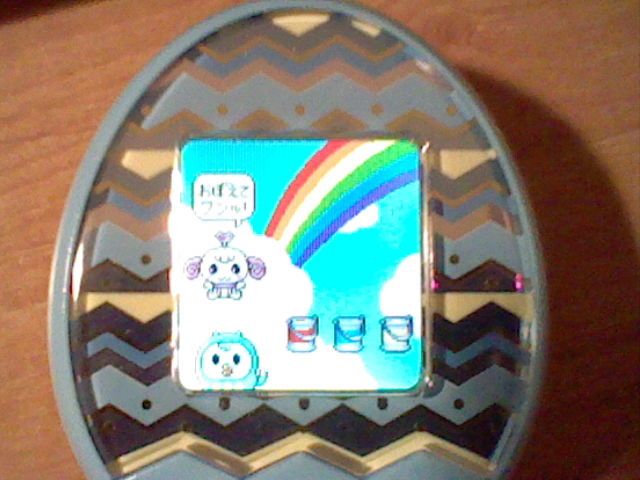
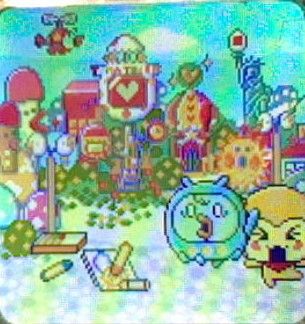
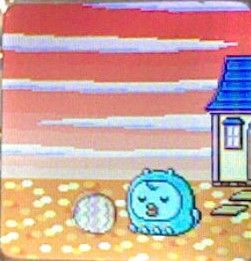
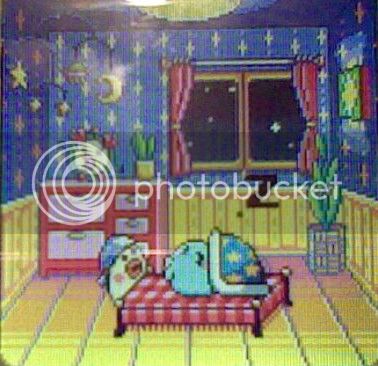
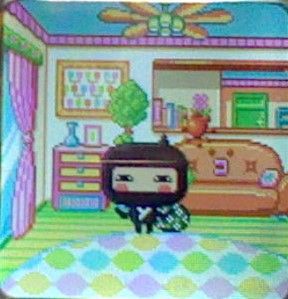
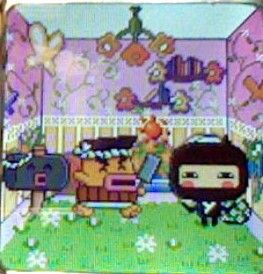
Finally, after all that was done, the screen switched to a striped egg wiggling around in what had to be the cutest living room I have ever seen. After a bit of waiting (less than a minute), the egg hatched in a very dramatic fashion, and this little blue babe was born!
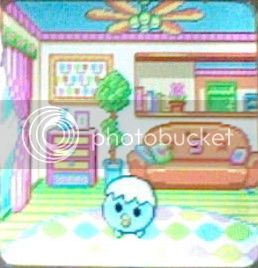
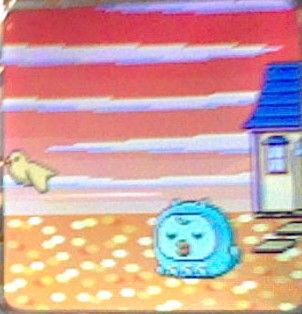
My little bab immediately started crying for me, which was sad but also cute. I fed him his bottles until he refused to eat any more (meaning his hunger meter is full). He kept sulking in the corner, though, so I tried playing with a toy by pressing the C button. Not sure if that did anything, though. Eventually I just gave him a ton of lollies until he stopped crying. In other news, please vote me as Parent of the Year 2016. :^)
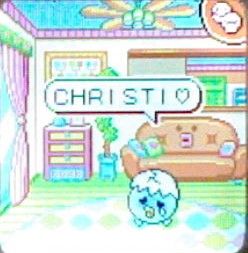
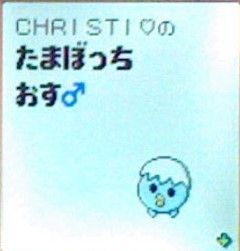
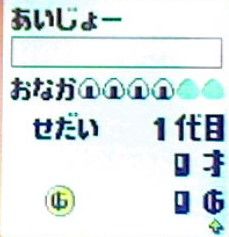
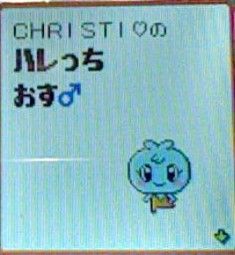
The hour spent in the baby stage was pretty standard. I kept him fed and happy, and in the downtime explored the different menu options. The first option is the same as it's been on every Tama - the stats screen. It's two pages, and the first has your name, your Tama's name/type, their gender, and a pic of them. The second page has their happiness meter (the empty bar at the top, haha), their hunger (shown in onigiri/rice balls), their generation, age, and amount of Gotchi points. If I remember to, I'll make a list of ways to make your Tama happy later!
I'll go through the rest of the menu icons real quick:
Food - the first option gives you either onigiri or a lolly. The onigiri fulfills one hunger, and about three lollies will fill your Tama's happiness by one bar.
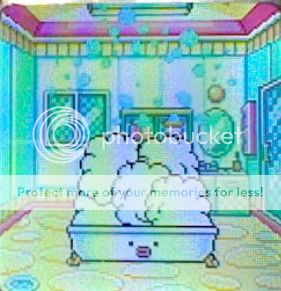
Bath - the first option sends your Tama to the toilet, but if they don't have to go they'll just look stressed out. The second option sends them to the Actual Bath, where they can get all squeaky clean! Bathing also increases their happiness a bit. If your Tama has stink lines around him/her, you can click on the Bath icon and they'll automatically go to the toilet.
Connect - haven't used this yet, since I don't have any other M!Xes, but you can connect by selecting this icon... probably.
House - here you can view your lineage (I'm assuming). At the time of typing this, mine has the first option grayed out, the second option shows a pic of my Tama and his generation, and the third option shows a pic of my Tama with his parents (which depend on the character your Tama evolves into, since it's gen 1).
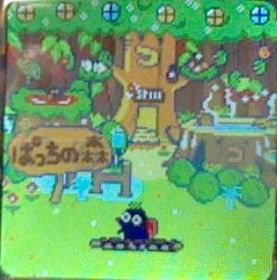
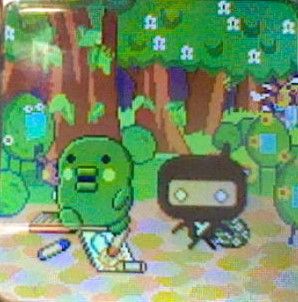
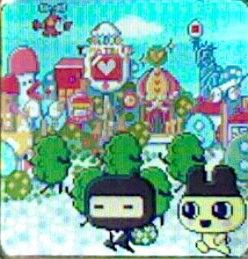
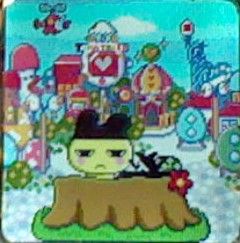
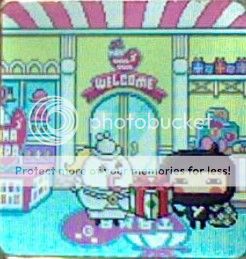
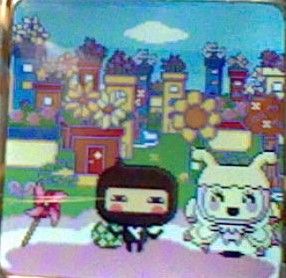
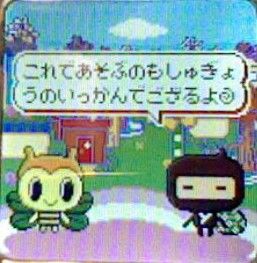
Door - clicking on this option will let you go out and about in Tama Town! Here you can go to the Tama Depa (the store where you can buy wallpaper, food, toys, and accessories), or the park, where you can meet with different Tamagotchi in Tama Town.
Train - this option will take you to any unlocked areas, such as Melody Land/Spacey Land, depending on your version. In these areas you can visit their local Tama Depa to buy unique items, build relationships with local Tamagotchi, and more!
Chest - this is where any items you've bought are stored. You can scroll through and select an item to for your Tama to play with, which will increase their happiness.
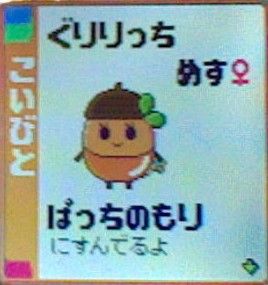
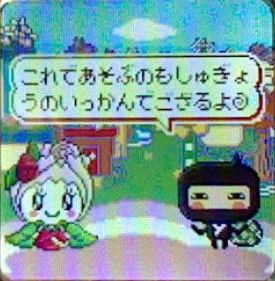
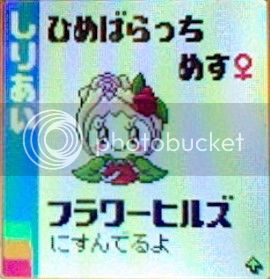
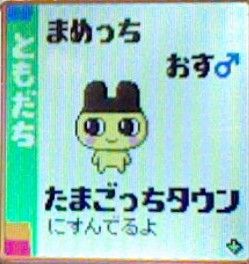
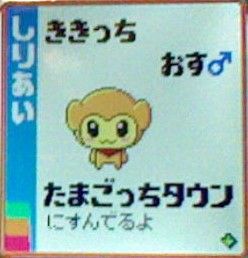
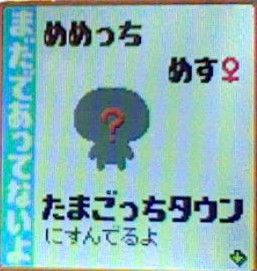
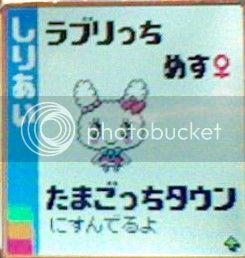
Book - so far, the only thing I can view here is my in-game friends list. The first option shows you all the Tamagotchi characters you have met, as well as your current relationship with them (blue is Acquaintance, green is Friend, etc.). As you unlock new locations, new Tamagotchi silhouettes will show up on the friends list, and will be filled in as you meet them.
Medicine - like in previous versions, click on this icon to heal your Tama when it's sick or has a toothache.
It's also worth noting that the Attention icon now appears in the upper righthand corner of the main screen whenever your Tama calls you, as opposed to having its own location on the menu. Makes sense to me, considering the change in format.
This log will, at least for now, be solely about the newly-released Tamagotchi M!X. It's the only one I have running right now, but that may change in the future. Also, fair warning that my logs can get pretty lengthy, especially when I'm jotting down new information or game functionality. If you're into that, then great, but if not, please feel free to skim the text and enjoy the pictures!
The community has been pretty hyped about the M!X for a while now, so I thought I'd share my experiences with everyone! I don't read a lick of Japanese, so it's certainly been an adventure so far, haha.
Also, I'd like to note that I do have a general Tamagotchi Log on a separate blog, which is linked in my signature or here. I will be cross-posting all my M!X logs there, and may include extra photos and whatnot since there isn't a limit. If I ever get around to making proper lists and/or guides, they'll also be there.
Thanks for putting up with that little introduction! On with the log!
August 2nd, 2016 (Part 1)
Technically speaking, my blue Tamagotchi M!X (Spacey ver.) arrived on my doorstep at the tail-end of July. I nearly tripped over it coming back home from nannying, which was a pleasant surprise. However, due to my plans that weekend, I decided to wait to start it up. Based on what I had read on the forums, a lot of folks were saying that the baby stage was very needy (shock, amaze) and I wanted to make sure I had plenty of time to devote to my soon-to-be child.
As luck would have it, my Shutotchi on my iD L left me on August 2nd (I have no idea why - I'm a great parent), so I took out its batteries, safely stored and labeled them, and popped new ones into my M!X.
First things first, of course, so I started out with setting the date and time (I set it to the 3rd like a moron, but corrected it later).

After setting the date and time, it had me enter my birthday (3/24!). For anyone who's curious, the date is set as month/day, and the time is automatically set to AM/PM. I know that, depending on your country, it can be different, and since the M!X is a Japanese exclusive (for now...), I wasn't sure at first.
After setting the date, time, and my birthday, I had to enter my name - or whatever I wanted my Tamagotchi to call me. Since my name is one character too long (a curse I face in almost any video game), I set mine as a nickname. The naming process was actually pretty complicated and took forever. Basically, you press the B button to select the empty space you want to fill with a character. Then, a list of hiragana (the Japanese alphabet) will appear beneath it. Press the A button to scroll through the characters - if you scroll to the end, the list of characters will change. If you keep doing this, you'll scroll through hiragana, katakana (a Japanese alphabet used for foreign words), punctuation, emojis, and eventually, the English alphabet. Press the B button to select the character you want to fill the slot with, and then repeat the process until you've completed whatever name you want.

((The hiragana reads, "What is your name?"))
Finally, after all that was done, the screen switched to a striped egg wiggling around in what had to be the cutest living room I have ever seen. After a bit of waiting (less than a minute), the egg hatched in a very dramatic fashion, and this little blue babe was born!

My little bab immediately started crying for me, which was sad but also cute. I fed him his bottles until he refused to eat any more (meaning his hunger meter is full). He kept sulking in the corner, though, so I tried playing with a toy by pressing the C button. Not sure if that did anything, though. Eventually I just gave him a ton of lollies until he stopped crying. In other news, please vote me as Parent of the Year 2016. :^)


The hour spent in the baby stage was pretty standard. I kept him fed and happy, and in the downtime explored the different menu options. The first option is the same as it's been on every Tama - the stats screen. It's two pages, and the first has your name, your Tama's name/type, their gender, and a pic of them. The second page has their happiness meter (the empty bar at the top, haha), their hunger (shown in onigiri/rice balls), their generation, age, and amount of Gotchi points. If I remember to, I'll make a list of ways to make your Tama happy later!


I'll go through the rest of the menu icons real quick:
Food - the first option gives you either onigiri or a lolly. The onigiri fulfills one hunger, and about three lollies will fill your Tama's happiness by one bar.
Bath - the first option sends your Tama to the toilet, but if they don't have to go they'll just look stressed out. The second option sends them to the Actual Bath, where they can get all squeaky clean! Bathing also increases their happiness a bit. If your Tama has stink lines around him/her, you can click on the Bath icon and they'll automatically go to the toilet.
Connect - haven't used this yet, since I don't have any other M!Xes, but you can connect by selecting this icon... probably.
House - here you can view your lineage (I'm assuming). At the time of typing this, mine has the first option grayed out, the second option shows a pic of my Tama and his generation, and the third option shows a pic of my Tama with his parents (which depend on the character your Tama evolves into, since it's gen 1).
Door - clicking on this option will let you go out and about in Tama Town! Here you can go to the Tama Depa (the store where you can buy wallpaper, food, toys, and accessories), or the park, where you can meet with different Tamagotchi in Tama Town.
Train - this option will take you to any unlocked areas, such as Melody Land/Spacey Land, depending on your version. In these areas you can visit their local Tama Depa to buy unique items, build relationships with local Tamagotchi, and more!
Chest - this is where any items you've bought are stored. You can scroll through and select an item to for your Tama to play with, which will increase their happiness.
Book - so far, the only thing I can view here is my in-game friends list. The first option shows you all the Tamagotchi characters you have met, as well as your current relationship with them (blue is Acquaintance, green is Friend, etc.). As you unlock new locations, new Tamagotchi silhouettes will show up on the friends list, and will be filled in as you meet them.
Medicine - like in previous versions, click on this icon to heal your Tama when it's sick or has a toothache.
It's also worth noting that the Attention icon now appears in the upper righthand corner of the main screen whenever your Tama calls you, as opposed to having its own location on the menu. Makes sense to me, considering the change in format.
Last edited by a moderator:






![Vaxson 3-Pack Screen Protector, compatible with Tamagotchi Connection Version 5 Celebrity /V5C/V5.5/Dream Royal Family Plus TPU Film Protectors Sticker [ Not Tempered Glass ]](https://m.media-amazon.com/images/I/51ipUKPjAWL._SL500_.jpg)


![Vaxson 3-Pack Screen Protector, compatible with Tamagotchi Connection Version 3 V3 TPU Film Protectors Sticker [ Not Tempered Glass ]](https://m.media-amazon.com/images/I/41zSjSBo1mL._SL500_.jpg)


