Resin shell for V4,V4.5,V5 & 20TH anniversery version

TamaTalk

Help Support TamaTalk:

This site may earn a commission from merchant affiliate links, including eBay, Amazon, and others.

TamaFifi27

Member
Joined
Sep 7, 2017
Messages
13
Reaction score
18
Since quarentine has happened, I've seen many people make money from making items out of resin. Though I don't want to make money out of this idea, i thought about making tamagotchi shells out of resin.

After some research, people have been doing so with the newer versions, but only the front part. I've bought some suplies (a silicon mould kit, a 2 part resin kit, a pigment powder set and some glow in the dark pigment set) from the internet and they'll be arriving tomorrow and the actual testing will begin!

I will be testing the version 5 first since its the one i use least and wont be as sad if i accidentally break something whilst taking apart the tamagotchi.

Stay tuned for an update tomorrow!

 
Ooh, now this is an interesting endeavour - I like the ability to re-shell things in order to keep them usable (I've got a spare Game Boy Colour here that I picked up cheaply at a local sale some years ago, which the previous owner treated pretty badly but which otherwise works fine, and I intend to get a new custom shell and buttons to replace its very-damaged and worn current ones), and experiments and documentation like this will open up possibilities for future Tamagotchi repairs and restorations. :)

I'll be watching this with great interest!

 
Last edited by a moderator:
Update!

I found some candle jars that I kept to make the moulds out of and had to wait 12 hours for it to dry, (that's what the instructions say) though it had become dry after maybe 3-4 hours.

I had done the 2 back pieces and the anteni thing first.

qz5vtV0.png


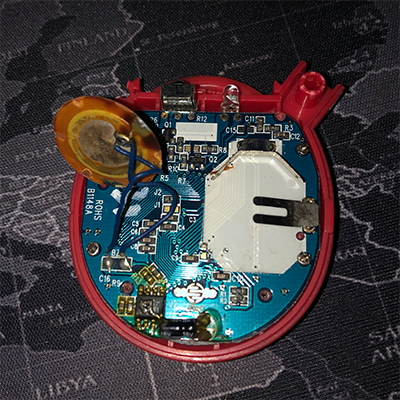
I had problems with the screws since I've unscrewed that tama plenty of times for it to be damaged so i wasnt able to do the other pieces yet. So I got a proper screwdriver set and a set of screws and i'm hoping that one of them is the ones I need to replace it (I'm not that worried about it since my dad payed for them and they'll be used for other things :) )

TXcoE0v.png


So today I pulled them out and that was difficult to do (had to use a crafting knife to seperate the parts that were joined together because of holes in the tama) and they had a tiny bubbles in them but thats not a big problem as i can sand the resin down when i do that. Since I got my screwdriver set today (thank you next day delivery!) i got to unscrew the rest of the tama and they are now getting molded as i type :D

MOIdG9y.png


Last edited by a moderator:
I finally got around to doing the resin!

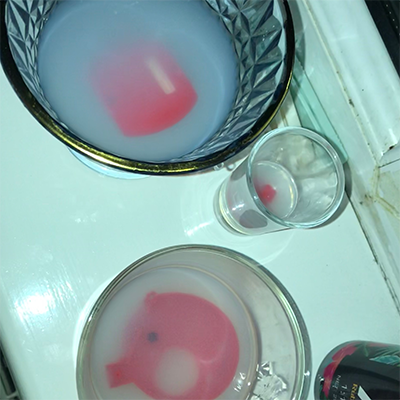
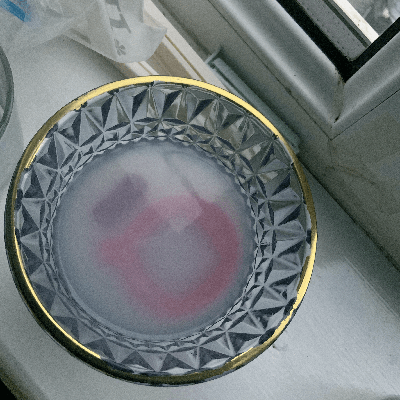
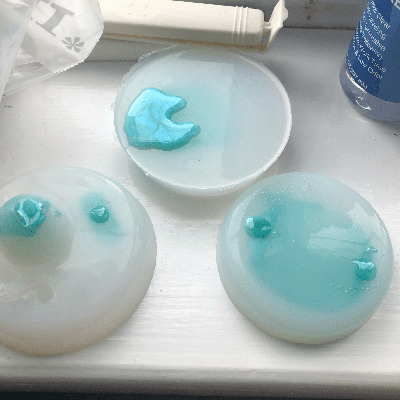
i was only planning on doing the antenna and the red top and let me tell you, it nearly went everywhere since the resin wasnt filling the whole mould in. I had to turn it side by side for it to do that. It did get messy. Just make sure to wear gloves and have a better surface to work on than what I had, for anyone who also wants to try this. And since i had leftover resin i just decided to fill as much as i could.

Q3zrExw.png
xC1AXNS.png


I also wanted to ask how i should make the 2 part mould, I've seen it being done with clay, but i dont know if i want to by clay just to do that. is there an easier way of doing a 2 part mould?

 
Last edited by a moderator:
I finally got around to doing the resin!

i was only planning on doing the anteni and the red top and let me tell you, it nearly went everywhere since the resin wasnt filling the whole mould in. I had to turn it side by side for it to do that. And since i had leftover resin i just decided to fill as much as i could.

Q3zrExw.png
xC1AXNS.png


I also wanted to ask how i should make the 2 part mould, I've seen it being done with clay, but i dont know if i want to by clay just to do that. is there an easier way of doing a 2 part mould?
I also wanted to add that I had only used 20ml of the resin mix and that was enough to make most of the shell. just for anyone that wanted to know :)

 
Update!

I found some candle jars that I kept to make the moulds out of and had to wait 12 hours for it to dry, (that's what the instructions say) though it had become dry after maybe 3-4 hours.

I had done the 2 back pieces and the anteni thing first.

qz5vtV0.png


I had problems with the screws since I've unscrewed that tama plenty of times for it to be damaged so i wasnt able to do the other pieces yet. So I got a proper screwdriver set and a set of screws and i'm hoping that one of them is the ones I need to replace it (I'm not that worried about it since my dad payed for them and they'll be used for other things :) )

TXcoE0v.png


So today I pulled them out and that was difficult to do (had to use a crafting knife to seperate the parts that were joined together because of holes in the tama) and they had a tiny bubbles in them but thats not a big problem as i can sand the resin down when i do that. Since I got my screwdriver set today (thank you next day delivery!) i got to unscrew the rest of the tama and they are now getting molded as i type :D

MOIdG9y.png
How did you get the shell out?

 
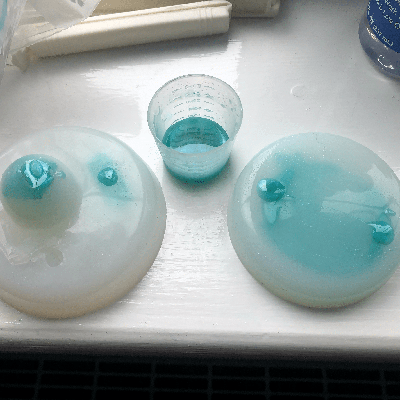
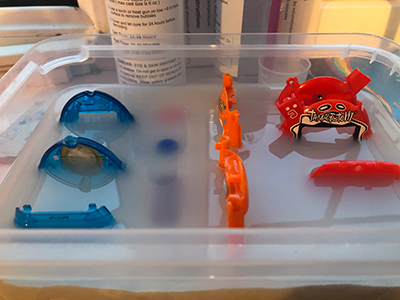
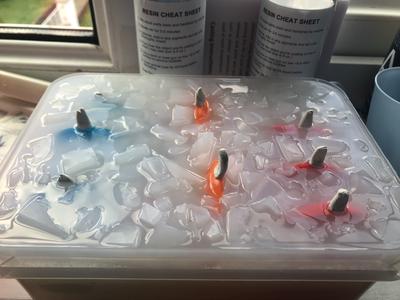
Alright! the resin had cured a few days ago and I pulled them out to find that they were bendy. I looked it up and the reasons why that would happen is if the ratio of both parts of the resin was off, which I thought were fine since I used the mesuring cup that came with the resin, or that it takes longer to cure correctly with thinner objects. I also looked up the temperature that the resin should be in when it cures and it was 77 degrees Fahrenheit (25 degrees Celicius) and my room was a bit under that. Also because I had used blu tack to keep some of the parts from floating, after I had taken those parts out I had to cut off the excess resin and it doesnt look so good, but i wasn't so bothered because it was my first try anyways :)

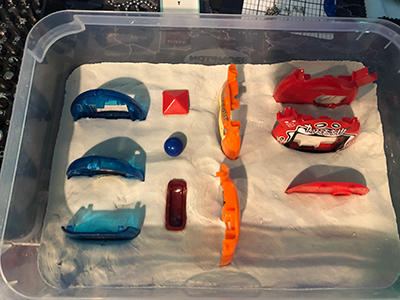
Now onto my second attempt. I bought some clay, DAZ modelling clay to be persise, and put all of the pieces into the clay. using a bigger box made it easier to have all 3 types of tamas that i wanted to make new shells for. The slight bad news is that I didnt have enough silicone mould mix left to even do the first half  :eek:  I'm just gonna hope that when I get more and pour it on top of the already set mould, it would just stick :)

cXJLIfv.png
 
sDVa04u.png


I got some more silicone mould and luckily the mould had stuck onto the rest of the silicone as hoped. I then used wd40 on the bottom half of the mould after it all dried to stop the second half from sticking. and because I was running low on silicone...again I used the first attempt mould, cut it up into pieces and added it to the silicone.

1swgSBK.jpg


I stuggled once again in taking them out, probably because of all of the pieces.

I'll be making the resin tomorrow or late tonight, so stay tuned :)  

 
With resin, to get the ratios right, the proper way to measure it is not with a measuring cup - use a scale to measure weight instead. Also make sure it's mixed completely before pouring.
 
Back
Top