Hello! So today I think I figured out a nice fix for cut-off buttons... It's not rocket science but I got excited so I wanted to share full instructions. ^_^ It worked for me, but I have to say it may not work for you, so well don't blame me if you make things worse.  But if you wanna give it a try, here it is:
(When I say "cut-off" I mean like this
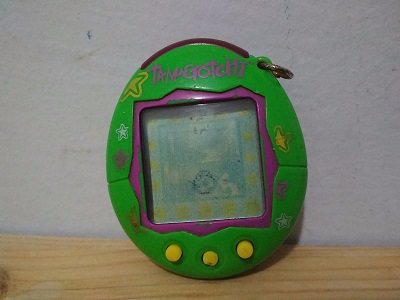
(It doesn't show very clearly but the middle button is broken.)
YOU WILL NEED:
- Small screwdriver
- Pliers with wire-cutter
- A thin needle or pin
- A pair of scissors or a blade (blade better I think, but I did it with scissors)
- A cheap small ear stud
- Optionally, strong glue
1) Disassemble the tamagotchi very carefully (once I accidentally pulled the speaker wires and had to have it repaired).
2) Take out the buttons.
3) Cut the broken button a bit more with a pair of scissors or even better with a blade, to make it straight. If it's not 100% straight it's still fine, but if you're a perfectionist even it out. Don't cut too much though. The more you can preserve, the better.
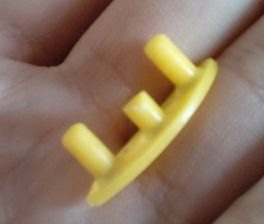
This is mine, after cutting it down a bit more.
4) Take a thin needle or pin and pierce the center of the button. You want to make the hole deep. Remove the needle. It's ok if you can't even see the hole, don't try to make it bigger.
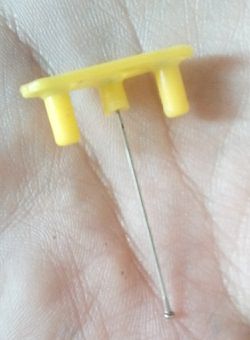
5) Take the earring and shove it in the tiny hole you opened. See how far it goes, and mark or put your finger on the spot it stops.
6) Cut it at that spot with the pliers.
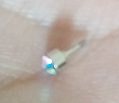
7) Put a tiny amount of strong glue on it. (I didn't have so I skipped this part but I think it would be good.) Shove the earring back into the pin hole. Wait for the glue to dry up completely.
That's it, pretty much. I didn't have glue so I decided to experiment a bit and heat up the button with a lighter, to hold the earring even better, but I don't recommend doing that cause it may bend the button.
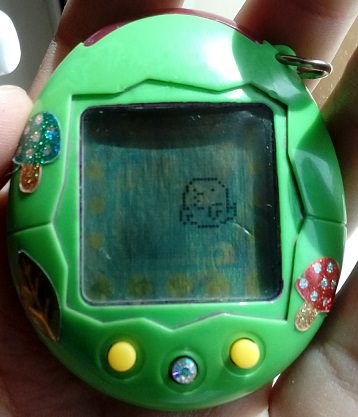
Finished product looks like this:
(When I say "cut-off" I mean like this

(It doesn't show very clearly but the middle button is broken.)
YOU WILL NEED:
- Small screwdriver
- Pliers with wire-cutter
- A thin needle or pin
- A pair of scissors or a blade (blade better I think, but I did it with scissors)
- A cheap small ear stud
- Optionally, strong glue
1) Disassemble the tamagotchi very carefully (once I accidentally pulled the speaker wires and had to have it repaired).
2) Take out the buttons.
3) Cut the broken button a bit more with a pair of scissors or even better with a blade, to make it straight. If it's not 100% straight it's still fine, but if you're a perfectionist even it out. Don't cut too much though. The more you can preserve, the better.

This is mine, after cutting it down a bit more.
4) Take a thin needle or pin and pierce the center of the button. You want to make the hole deep. Remove the needle. It's ok if you can't even see the hole, don't try to make it bigger.

5) Take the earring and shove it in the tiny hole you opened. See how far it goes, and mark or put your finger on the spot it stops.
6) Cut it at that spot with the pliers.

7) Put a tiny amount of strong glue on it. (I didn't have so I skipped this part but I think it would be good.) Shove the earring back into the pin hole. Wait for the glue to dry up completely.
That's it, pretty much. I didn't have glue so I decided to experiment a bit and heat up the button with a lighter, to hold the earring even better, but I don't recommend doing that cause it may bend the button.
Finished product looks like this:


